
Crafting Cheddar Cheese: A Technical Guide for Dairy Professionals
Introduction
Cheddar cheese is one of the most widely produced and consumed cheeses globally, known for its versatility, distinct flavor, and various aging profiles. Originally from England, cheddar has a unique production process that involves specific techniques, resulting in its characteristic taste and texture. This guide offers a step-by-step technical overview of cheddar cheese production for professional dairy producers looking to expand or refine their cheese-making expertise.
Characteristics of Cheddar Cheese
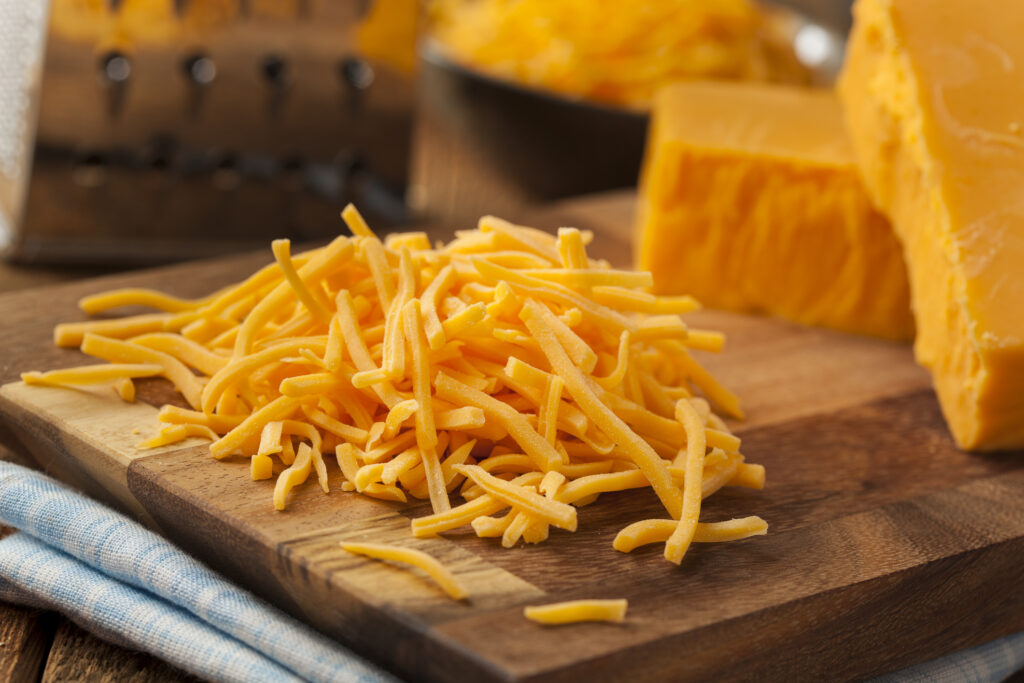
Texture: Firm and smooth, which becomes crumbly as it ages.
Flavor: Mild when young, with flavors intensifying to sharp and complex as it matures.
Color: Ranges from pale yellow to deep orange (often colored with annatto).
Aging Time: Typically aged from 3 months to 2 years or more, with flavors deepening over time.
Ingredients and Equipment
Ingredients
Milk: 100 gallons (approx. 380 liters) of high-quality raw or pasteurized whole cow’s milk.
Starter Culture: Mesophilic starter culture (Lactococcus lactis or Lactococcus cremoris).
Rennet: Liquid or microbial rennet for coagulation.
Calcium Chloride: 0.3% of the milk volume (optional, for pasteurized milk) diluted in 1/4 cup of cool, non-chlorinated water.
Cheese Salt: 2 to 3 pounds (900 to 1350 grams) of non-iodized cheese salt.
Annatto (Optional): For coloring, use 1 to 2 teaspoons depending on the desired color intensity.
Equipment
Stainless Steel Vat: For heating and pasteurizing the milk.
Thermometer: For precise temperature monitoring.
Long Knife or Curd Cutter: For cutting the curds.
Cheese Press: For pressing the cheese into molds.
Cheesecloth: For draining and pressing the curds.
Molds and Hoop: To shape the cheese.
pH Meter: For monitoring acidity levels during production.
Step-by-Step Production Procedure
Step 1: Prepare the Milk
Objective: Heat and prepare the milk for culture addition.
Pour Milk into Vat: Add 100 gallons of milk to the stainless steel vat.
Add Calcium Chloride (Optional): If using pasteurized milk, add 0.3% of the milk volume as calcium chloride, diluted in 1/4 cup of cool, non-chlorinated water, to improve curd firmness.
Heat to 86°F (32°C): Warm the milk slowly to this temperature to ensure optimal bacterial activity. This temperature is critical as it allows the starter culture to effectively ferment lactose, promoting proper acidification and successful curd formation.
Technical Note: Slow heating prevents scorching and ensures even temperature distribution.
Step 2: Add Starter Culture
Objective: Inoculate the milk with mesophilic cultures to initiate fermentation.
Add Mesophilic Culture: Sprinkle the starter culture over the milk’s surface. For cheddar cheese, consider using specific mesophilic cultures like Lactococcus lactis subsp. lactis or Lactococcus lactis subsp. cremoris to achieve the desired flavor profile.
Stir Thoroughly: Allow the culture to hydrate for 5 minutes before stirring well for even distribution.
Ripening: Let the milk ripen for 45 to 60 minutes to develop acidity.
Technical Note: The ripening time allows bacteria to convert lactose into lactic acid, lowering the pH and preparing for coagulation.
Step 3: Add Annatto (Optional)
Objective: Introduce color to the milk, if desired.
Add Annatto: Add 1-2 teaspoons of annatto diluted in water, and stir gently.
Technical Note: Annatto is purely for aesthetic purposes and does not affect the flavor of the cheese.
Step 4: Coagulation with Rennet
Objective: Use rennet to set the milk into curds.
Add Rennet: Add the diluted rennet to the milk and stir for 30 seconds.
Rest for 45 Minutes: Let the milk set undisturbed until a firm curd forms that produces a clean break.
Clean Break Test: Insert a knife into the curd; it should break cleanly, showing clear separation of curds and whey.
Step 5: Cut the Curds
Objective: Cut the curd into small pieces to release whey.
Cut into 1/2-inch Cubes: Use a curd knife to cut the curd into uniform 1/2-inch cubes.
Rest for 5 Minutes: Allow the curds to settle to firm up before stirring.
Technical Note: Proper cutting and resting help ensure consistent whey expulsion and curd texture.
Step 6: Cook the Curds
Objective: Heat the curds to expel whey and firm the curd structure.
Heat to 102°F (39°C): Gradually heat the curds over 30-40 minutes, stirring gently to prevent matting.
Hold for 30 Minutes: Maintain this temperature while stirring occasionally.
Technical Note: This stage influences the moisture level, which is key to cheddar’s aging properties.
Step 7: Drain the Whey
Objective: Remove whey from the curds to prepare for cheddaring.
Drain the Whey: Pour off most of the whey, leaving the curds behind in the vat.
Step 8: Cheddaring
Objective: Stack and turn curds to expel more whey and develop texture.
Form Curds into Slabs: Gather curds into slabs and allow them to settle at the bottom of the vat.
Stack and Turn: Stack the slabs on top of each other and flip every 15 minutes for 1.5 to 2 hours.
Technical Note: Cheddaring aligns proteins, resulting in the distinct crumbly texture of cheddar.
Step 9: Milling the Curds
Objective: Cut the slabs into smaller pieces to prepare for salting.
Mill Curds into Strips: Cut or tear the slabs into finger-sized strips.
Technical Note: Milling helps create a uniform curd size, ensuring even salting and moisture control.
Step 10: Salting the Curds
Objective: Add salt to enhance flavor and help with preservation.
Sprinkle Salt: Gradually add 2-3 pounds of cheese salt while gently mixing.
Technical Note: Salt draws out moisture, controls bacterial growth, and aids in flavor development.
Step 11: Pressing the Cheese
Objective: Form the curds into a solid block and expel excess whey.
Transfer to Mold: Place the salted curds into a cheese mold lined with cheesecloth.
Press at 20 psi for 12 Hours: Apply pressure in stages, starting at 10 psi for the first 30 minutes, then increase to 15 psi for the next 2 hours, and finally press at 20 psi for the remaining time.
Technical Note: Proper pressing removes excess moisture and binds the curds into a cohesive wheel.
Step 12: Aging the Cheese
Objective: Develop flavor and texture through controlled aging.
Remove from Mold and Wax: After pressing, remove the cheese from the mold, allow it to air-dry, and coat with wax.
Age at 50-55°F (10-13°C): Store in an aging room with 85% relative humidity. It is important to use a hygrometer to monitor humidity levels and a humidifier or dehumidifier to maintain consistent conditions, as humidity plays a crucial role in the development of the cheese’s texture and flavor.
Aging Duration: Age the cheese for anywhere from 3 months to 2 years.
Technical Note: Longer aging results in sharper flavors and a crumbly texture.
Quality Control Measures
pH Monitoring: Check pH throughout the process, aiming for a target pH of 5.3-5.5 after cheddaring and 5.0-5.2 post-pressing.
Moisture Content: Ensure curds are properly drained to achieve the desired moisture level.
Flavor Evaluation: Regularly taste during aging to monitor flavor development and detect any defects.
Conclusion
Producing cheddar cheese requires careful control of every step, from curd cutting to cheddaring and pressing. Mastering the intricacies of each stage ensures a high-quality product with the classic flavor and texture that cheddar is known for. By following this technical guide, dairy producers can refine their cheddar-making skills and create cheese that meets market expectations for quality and flavor.
References
Scott, R. (1998). Cheese Making Practice. Springer Science.
Fox, P. F., & McSweeney, P. L. H. (2017). Cheese: Chemistry, Physics, and Microbiology. Springer.
Kosikowski, F. V. (1982). Cheese and Fermented Milk Foods. Cornell University.
Lawrence, R. C., & Gilles, J. (1987). Cheddar Cheese and Related Dry-Salted Cheese Varieties. Elsevier.