
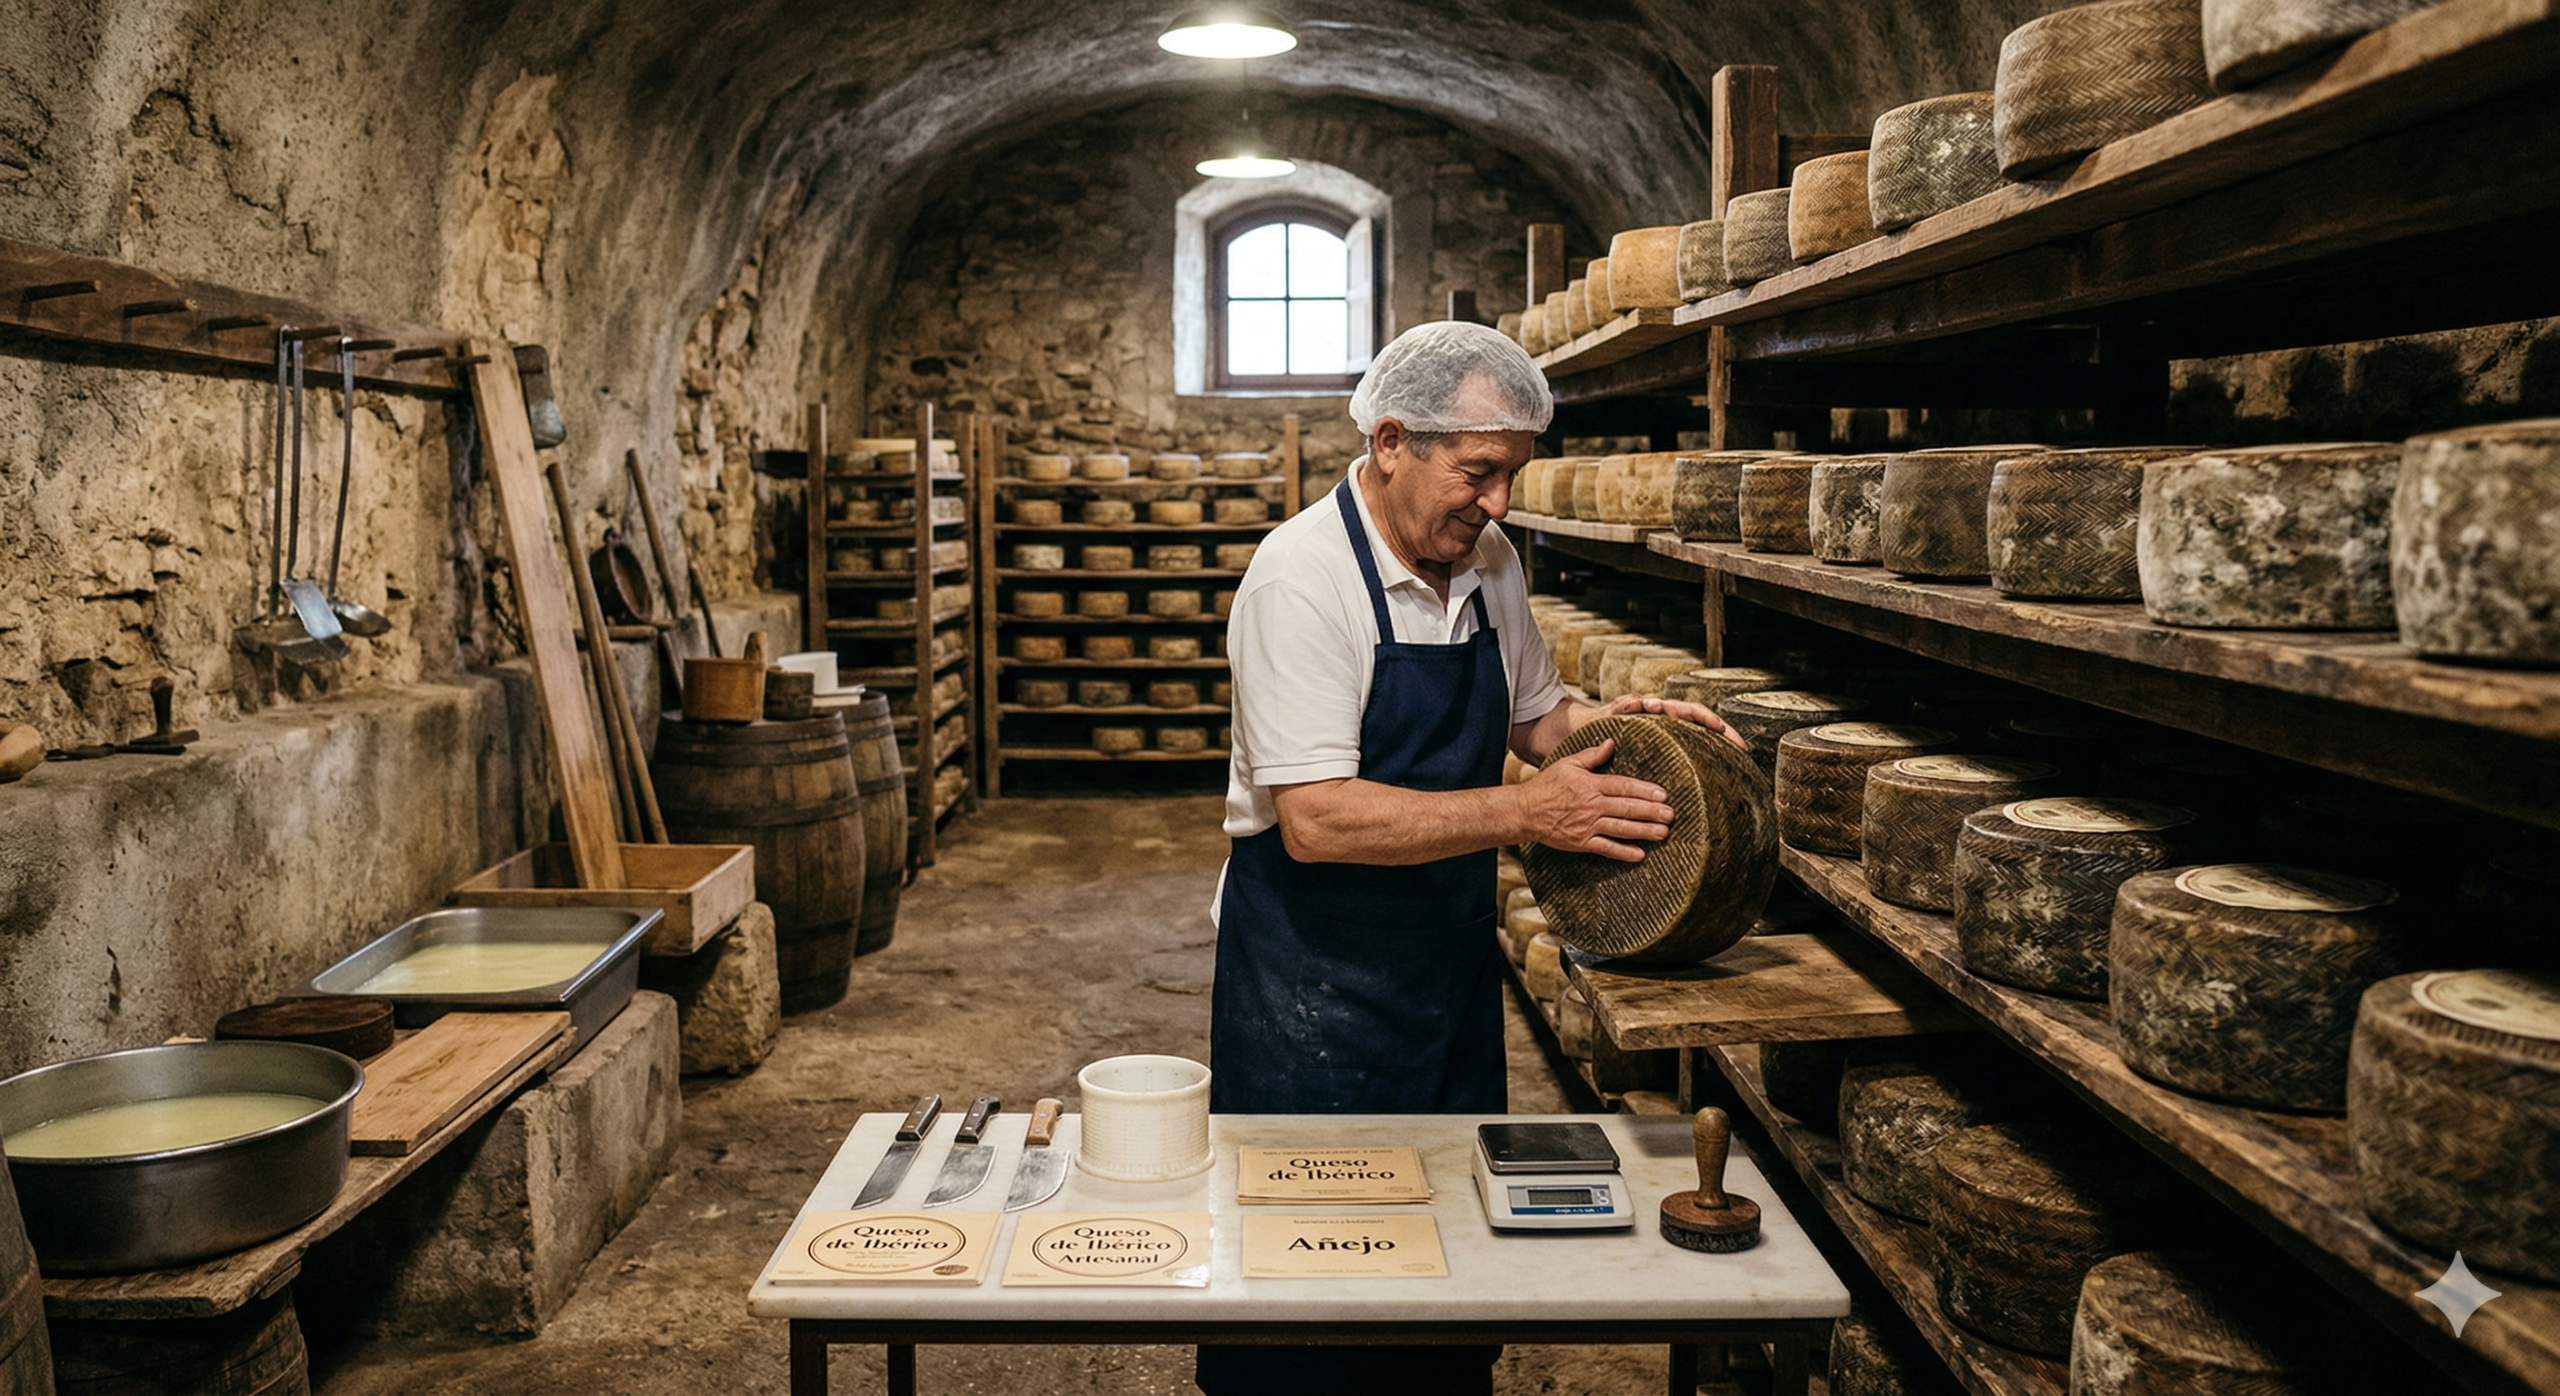
Learning how to make Ibérico cheese opens the door to one of Spain’s most beloved dairy traditions. This mixed-milk cheese blends cow’s, goat’s, and sheep’s milk into a pressed, semi-hard to hard wheel with nutty, buttery, and slightly tangy flavors. Whether you’re an artisan producer looking to expand your cheese lineup or a homestead cheesemaker exploring new varieties, this guide walks you through the complete process from milk reception to aging.
Ibérico cheese stands apart from its famous cousin Manchego in one key way: it requires mastering the art of blending three different milks. That complexity is also what makes it so rewarding. The cow’s milk provides body and mild acidity, the goat’s milk adds a subtle tang and whiter paste, and the sheep’s milk brings richness and a buttery mouthfeel.
What Makes Ibérico Cheese Unique
Before diving into the production steps, it helps to understand what defines this cheese. According to Spanish Royal Decree 262/2011, any cheese sold under the name “Ibérico” must follow specific milk proportions: a maximum of 50% cow’s milk, a minimum of 15% goat’s milk, and a minimum of 15% sheep’s milk. The remaining percentage can be distributed among the three milks based on availability and the cheesemaker’s preference.
This flexibility is part of what makes Ibérico so interesting for artisan producers. In Spain, the exact blend often shifts with the seasons, reflecting the natural breeding cycles of goats and sheep and their milk availability throughout the year.
Ibérico cheese comes in two main aging categories. Semi-cured (semicurado) is aged from one to three months and has a milder, creamier profile. Cured (curado) is aged from three to six months, developing firmer texture and deeper, nuttier flavors. Some producers age it even longer for a viejo style, which can reach up to a year of maturation.
Equipment and Ingredients You Will Need
Before you begin, make sure you have all your equipment sanitized and ready. Temperature control and timing are critical throughout the process.
Ingredients
- Fresh cow’s milk (up to 50% of total volume)
- Fresh goat’s milk (minimum 15% of total volume)
- Fresh sheep’s milk (minimum 15% of total volume)
- Mesophilic or thermophilic starter culture
- Liquid animal rennet (or vegetable rennet)
- Calcium chloride (if using pasteurized milk)
- Non-iodized cheese salt or flake salt
- Brine solution (saturated sodium chloride)
Equipment
- Large stainless steel cheese vat or pot
- Dairy thermometer (accurate to 1°F/0.5°C)
- Curd-cutting knife or long blade
- Slotted spoon or curd skimmer
- Cheese molds (cylindrical, traditional Ibérico shape with flower pattern)
- Cheese press capable of applying 20–40 lbs of pressure
- Cheesecloth or butter muslin
- pH meter or pH strips
- Aging space with temperature and humidity control
Step 1: Milk Reception and Blending
The foundation of great Ibérico cheese is quality milk. Start by testing each milk source for freshness, acidity, and fat content. If you are using pasteurized milk, add calcium chloride according to the manufacturer’s instructions to compensate for calcium lost during pasteurization.
Combine the three milks in your cheese vat at the desired ratio. A good starting blend for your first batch is 50% cow’s milk, 25% goat’s milk, and 25% sheep’s milk. This gives a well-balanced flavor profile while meeting the minimum requirements.
Stir the blended milk gently to ensure even distribution. Record your exact ratios and milk volumes — this data becomes invaluable when you want to replicate a successful batch or adjust the flavor profile.
Step 2: Heating and Culture Addition
Slowly heat the blended milk to 86°F (30°C). The key word here is slowly. Rapid heating can damage the milk proteins and negatively affect curd formation later. Aim for a gradual increase over 15 to 20 minutes.
Once the milk reaches target temperature, sprinkle your starter culture over the surface and let it rehydrate for two to three minutes. Then stir it into the milk using gentle up-and-down strokes for about one minute. Allow the milk to ripen at 86°F for 30 to 45 minutes. During this ripening period, the lactic acid bacteria begin converting lactose into lactic acid, which lowers the pH and prepares the milk for coagulation.
Step 3: Adding Rennet and Coagulation
Dilute your rennet in a small amount of cool, non-chlorinated water (about ¼ cup). Add the diluted rennet to the milk while stirring gently with up-and-down motions for approximately 30 seconds. Stop stirring immediately after incorporation — any continued movement can disrupt curd formation.
According to official Spanish production standards, curdling for Ibérico cheese takes place between 82°F and 90°F (28–32°C) and should complete in under 45 minutes. Cover the vat and let the milk sit undisturbed.
After about 30 to 40 minutes, check for a clean break. Insert a clean knife or your finger at a 45-degree angle into the curd and lift gently. If the curd splits cleanly with clear whey visible in the crack, it is ready to cut. If the curd is still soft or mushy, wait another five to ten minutes and test again.
Step 4: Cutting the Curd
Begin cutting the curd with a large vertical cross-cut, creating roughly one-inch squares. Let the cut curd rest for one to two minutes so the surfaces can heal slightly and release some whey.
Next, reduce the curd to the size of rice grains or wheat grains. This is the traditional target size for Ibérico cheese and is smaller than many other cheese styles. Use a thin-wire whisk or curd-cutting knife, starting slowly and increasing speed as the curds get smaller. This step typically takes about 10 minutes of cutting followed by 20 minutes of gentle stirring to firm the curds before you begin heating.
The curds will start as very soft, fragile pieces with little structure. As you stir, they gradually firm up, shrink, and begin to hold their shape as separate pieces.
Step 5: Cooking the Curds
Once the curds are cut to size, begin raising the temperature gradually to 97–100°F (36–38°C). This should happen slowly over about 30 minutes. Stir gently but continuously during this phase to prevent the curds from matting together.
As the temperature rises, increase your stirring speed slightly. The curds will continue to expel whey and shrink. You are looking for firm, rubbery pieces approximately the size of a grain of wheat. This cooking phase takes roughly 30 minutes of active stirring at the elevated temperature.
The goal is to develop the right moisture content in the curd. Too much moisture and the cheese will be overly soft and may develop off-flavors during aging. Too little moisture and the finished cheese will be dry and crumbly.
Step 6: Draining and Molding
After cooking, allow the curds to settle to the bottom of the vat for about five minutes. Remove enough whey to expose the top of the curds. You can consolidate the curds under the remaining whey by gently pressing them together before transferring to molds.
Line your cheese molds with damp cheesecloth and transfer the curds. Traditional Ibérico molds are cylindrical with a maximum height of about 12 cm (4.7 inches) and often feature a flower pattern on the top and bottom plates, along with a herringbone or esparto grass pattern on the sides — similar to Manchego molds.
Fill the molds evenly, pressing the curds down gently with your hands to remove air pockets. Fold the cheesecloth over the top of the curds and place the follower on top.
Step 7: Pressing
Place the filled molds into your cheese press and begin with light pressure — about 10 to 15 lbs for the first 30 minutes. This initial gentle press allows whey to escape without trapping it inside the cheese.
After 30 minutes, remove the cheese from the mold, unwrap the cloth, flip the cheese, rewrap, and return it to the mold. Increase the pressure to 20 to 30 lbs and press for another two hours.
Flip the cheese again, rewrap, and press at 30 to 40 lbs for 8 to 12 hours or overnight. The target pH at the end of pressing should be between 5.0 and 5.5. Use your pH meter to verify this. If the pH is still too high, the cheese may benefit from additional pressing time at room temperature.
Step 8: Salting and Brining
Once pressing is complete, remove the cheese from the mold and cheesecloth. Prepare a saturated brine solution (approximately 23% salt concentration at 50–55°F or 10–13°C).
Submerge the cheese in the brine. Brining time depends on the size and weight of the wheel, but the general guideline for Ibérico is approximately two hours per pound of cheese. Official standards specify that the sodium chloride content in the finished cheese should not exceed 2.5%.
Flip the cheese halfway through the brining period to ensure even salt absorption on all surfaces. After brining, remove the cheese and pat it dry with a clean cloth or paper towel.
Step 9: Drying and Aging
Place the brined cheese on a clean cheese mat or aging rack in a drying room at 54–61°F (12–16°C) with 75–90% relative humidity. During the first few days, flip the cheese daily to promote even drying and prevent moisture from pooling.
Some producers apply an antifungal coating to prevent unwanted mold growth during the early aging stage. Others prefer to manage surface mold through regular wiping and turning.
After the initial drying period of one to two weeks, move the cheese to a maturation chamber at slightly cooler temperatures of 39–50°F (4–10°C), maintaining the same 75–90% relative humidity. Continue flipping every few days.
For semicurado Ibérico, age the cheese for one to three months. For curado, extend aging to three to six months. For a viejo-style wheel with intense, sharp flavors, age for up to 12 months. The longer the aging, the more concentrated and complex the flavors become.
After the aging period is complete, the cheese can be preserved in olive oil, vacuum-packed, or coated with wax for longer storage and sale.
Common Challenges When Making Ibérico Cheese
Working with three different milks introduces variables that single-milk cheeses do not have. Here are the most common challenges artisan producers face.
Inconsistent curd formation. Goat’s milk and sheep’s milk behave differently from cow’s milk during coagulation. The varying casein structures and fat globule sizes mean that your rennet dosage may need adjustment compared to a pure cow’s milk cheese. Running a small trial coagulation test before committing your full batch can save time and product.
Balancing milk ratios across seasons. Goat and sheep milk availability fluctuates throughout the year based on breeding cycles. Plan your production schedule and supplier relationships around these natural patterns.
Moisture control during pressing. The different fat and protein contents of each milk type affect how quickly the blended curd releases whey. You may need to adjust pressing times and weights compared to what you use for single-milk cheeses.
Rind management during aging. The mixed-milk composition can make the rind behave unpredictably during long aging. Monitor closely for unwanted mold in the first few weeks and establish a consistent turning and cleaning routine.
Tracking Your Ibérico Production
Making great Ibérico cheese is as much about consistency and documentation as it is about technique. Every batch should be logged with detailed records: milk sources and ratios, temperatures at each stage, culture and rennet types and quantities, pressing times and pH readings, brining duration, and aging conditions.
This level of documentation not only helps you replicate your best batches but also supports HACCP compliance if you are selling commercially. Production management software designed for cheesemakers can automate much of this tracking, giving you searchable records and trend analysis across multiple batches.
Final Thoughts
Making Ibérico cheese is a rewarding challenge that connects you to centuries of Spanish cheesemaking tradition. The interplay of three milks creates a depth of flavor that few single-milk cheeses can match. Start with a balanced 50/25/25 blend, master your temperatures and timing, and then experiment with different ratios to develop your own signature wheel.
The key to success is precision, patience, and meticulous record-keeping. Every batch teaches you something new about how these three milks work together — and that ongoing learning is what makes artisan cheesemaking so fulfilling.